We seem to concentrate a lot of our time and efforts on making sure that much of our data on our iPhones are protected; both protected with security measures such as passwords, and also protected from technology failure by backing them up onto another device. We always make sure that we have passwords on our emails, and there are usually a few copies of those favorite photographs from your iPhone around – on an external hard drive, on your PC or on your Mac, even on a USB memory stick. But have you considered that there may be other bits of data on your iPhone which are just as, if not more important, and the vast majority of people do not do anything to protect them?
That's right, we're talking about your iPhone call history. It may seem like a strange thing to ensure that is safe, but actually your call logs can tell an awful lot about the people that you are in contact with. If your phone was stolen, then just by going through your call logs, a thief could get their hands on a huge amount of data. On the other hand, if your phone had a problem, and you lost all of your call history records, you could be in a bit of a pickle. You may not realize it, but knowing exactly when and for how long you called people can be very important. This is especially true if you are using your iPhone for business purposes. Being able to refer to a telephone conversation that you had with someone in an email can drive home a point, prove that the discussion took place, and build on a professional relationship that you are hoping will eventually lead to further business.
Transferring your iPhone call logs onto a PC or a Mac can seem like a wildly complicated and drawn out project, but never fear: a program has been developed that should make it ridiculously easy to copy your data over. You don't have to sign up to anything, give any of your details, or spend hours trying to follow strange instructions. The entire process is designed to be easy, through these four simple steps:
Step 1: Download and launch the program
Download the free program to your computer. It should not take long to download, and then you should install it. When the entire installation process has been completed, launch it.
|
|
|


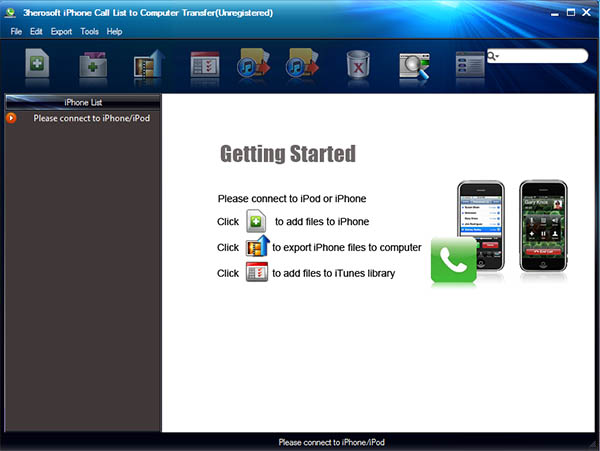
Note: Please make sure that iTunes is closed otherwise the software will not work properly.
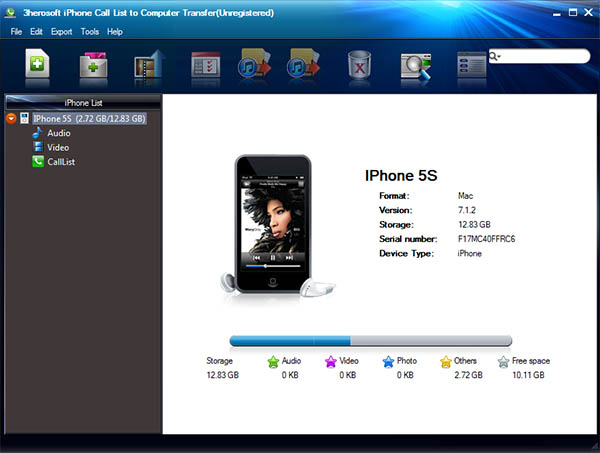
Step 2: Connect your iPhone to your PC or Mac
Now you need to connect your iPhone to your PC or your Mac. When it has properly connected, the information of your iPhone should appear in the computer program window. You should be able to see on the left hand side all of your data files – from audio and video files, to your call list.
Step 3: Select call logs to transfer
Click on the call list library. It could take a while for your iPhone and your computer to sync, and this will depend on the number of calls that you have within your history. Now you need to decide which calls you wish to transfer onto your PC or Mac. There will be little check boxes so that you can choose which ones you want to copy over.

Step 4: Export call history to local drive
All that's left is to click on 'Export checked files to local' button. You will now have the option to choose a folder on your PC or on your Mac where you are going to save the information. When you have decided, click on 'Save', and the process will begin.
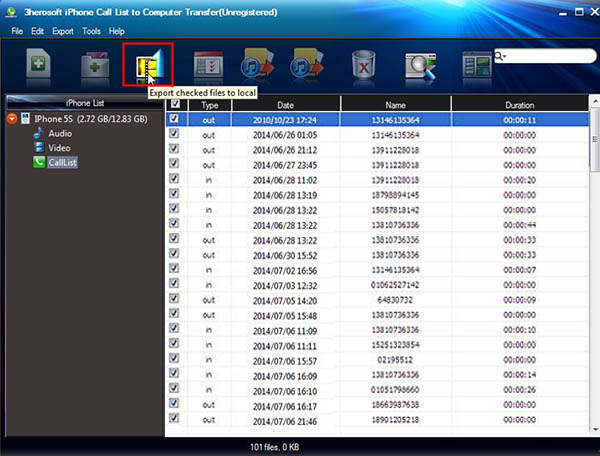
Within moments, you will have successfully transferred your iPhone call history over to your PC or Mac.
Other Useful Products
Awards & Accreditations