How to Recover Deleted or Erased Data from Your iPhone or iPad
By: Johanna Parker
Posted In: iPhone Tips & Tutorials
Have you ever felt your heart sink because you made the mistake of accidentally deleting a picture, text message, or other crucial information from your iPhone, iPad, or iPod? Perhaps you were the victim of damaged device or a crashed operating system that caused you to lose important files? Everyone remembers those necessary updates that can cause you to lose critical data. Not to mention the data and file loss an individual encounters when they decide to jailbreak their iPhone, iPad, or iPod. Fortunately, it does not matter what situation caused you to lose your important data and information - Dr.Fone iOS Data Recovery software to fix any and all of your data recovery problems.
Most iPhone users are going to cross their fingers and their toes before turning to their iTunes backup on their computer in the hopes that some of those lost files can be recovered. Fortunately, relying on your iTunes backup file on your computer is not your only solution for recovering deleted or erased iPhone/iPad data anymore. There are actually two other techniques that you can use to attempt to recover your lost data. Keep in mind, you will have to download an iPhone data recovery software in order to use either of these methods. However, you can rest assured that this software is extremely user-friendly.
|
|


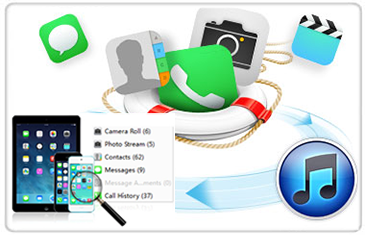
Please note: You can use this program to recover 7 types of data (contacts, messages, call history, calendar, notes, reminders, and the Safari bookmarks) directly from all iPhone, iPad, iPod Touch models and 12 types of data (camera roll, photo stream, photo library, voice memos, message attachments, contacts, messages, call history, calendar, notes, reminders, and the bookmarks) from iPhone 4/3GS, iPad 1 & iPod touch 4.
Method 1: Retrieving Deleted Data Directly from the iPhone/iPad
Step 1: Launch the Program and Connect Your Device to the Computer
-
First, you are going to want to make sure that you have your iPhone data recovery software running. Then, you are going to connect your iPhone to your computer and select "Recover from iOS Device" mode. After that, you will select the device you want to scan (the iPhone) with the software. Finally, an interface for the software will pop up allowing you to proceed.
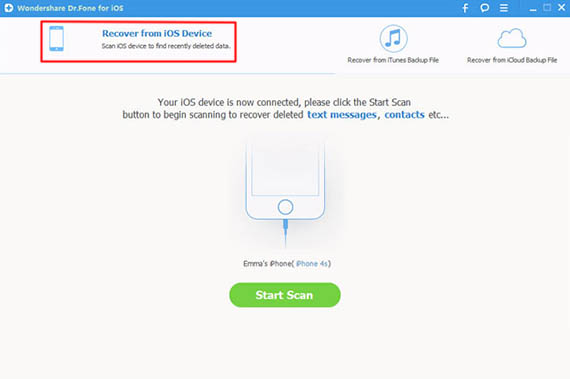
Step 2: Scan Your iPhone/iPad for Recovering Deleted Files
- Now you will need to click “Start Scan” button to start the scanning process. Once this occurs the program is automatically going to scan your device for all the deleted files.
Note: If you use iPhone 4/3GS or iPad 1, you are going to have to put in DFU mode. First, you are going to click the start button. Then, you will hold down the home button and the power button at the same time for ten seconds. After that, you will let go of the power button and continue to hold the home button for another ten seconds. Finally, you will receive a message telling you that you have successfully entered DFU mode.
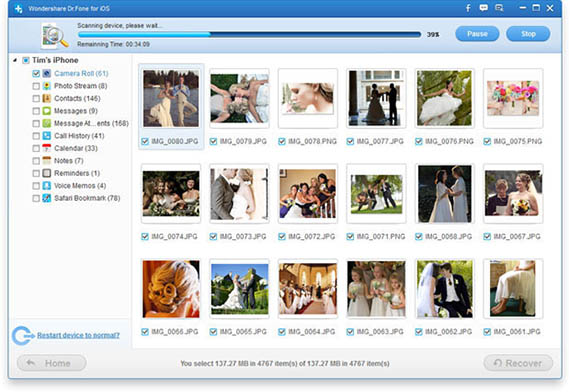
Step 3: Preview and Recovery
-
Once the scan is complete a window will pop up with a preview of all the categories of files it was able to recover like videos, camera roll, contacts, messages, etc. Then, you can choose the files you want to restore and click the “Recover” button. Once the recovery process is complete, you will have your files back.

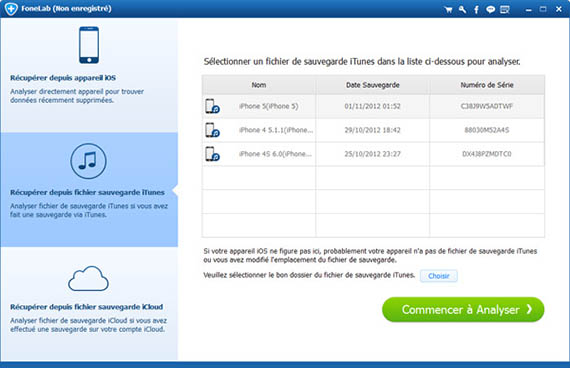
Method 2: Extracting Pictures from the iTunes Backup
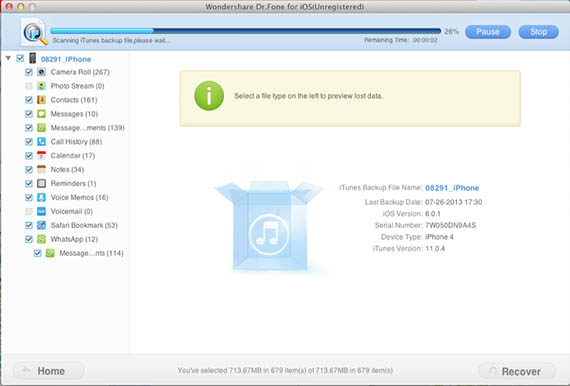
Step 1: Select Backup File and Scan It
-
Once you turn on your computer, you are going to want to launch the iOS data recovery software you have installed. Then, you are going to want to choose the "recover from iTunes backup file" option near the top of the screen. An interface is going to popup and you are going to need to choose the iTunes backup file you want to scan. Then, you can click the start scan button.
Step 2: Preview and Recover Files
-
Once the scan has finished, you will see a preview of a list of categories. Each category contains the different data files that the program was able to recover from the backup file. Then, you will be able to select which files you want to restore and click the recovery button.
Similarly, you can use this program to scan and recover deleted data from your iCloud backup files.
Download Free Trial Version of Dr.Fone iOS Data Recovery Windows
Buy Full Version of Dr.Fone iOS Data Recovery Windows ($52.46)